Slackbots- getting starting in Python
This article was for a walkthrough I gave prior to a hackathon at Cogo Labs.
Types of slack integrations
The four main types of Slack integrations are:
- Incoming Webhooks
- Outgoing Webhooks
- Bot Users
- Slash Commands
1 and 2 are the simplest ones.
Incoming webhooks are used to send data into slack from an outside service. For example, you can hook up a git repo to send a message whenever anyone pushes a commit to a repo.
Outgoing webhooks are listeners to slack that will send a message somewhere (you specify) when an event happens, like a message in a channel, a specifically worded message, etc.
These two are less interesting than 3 and 4, so we will mostly talk about those.
Setting up your first Bot User
We’ll start off with a bot user to demonstrate the simplest type of interaction: using the Web API.
First, go to https://api.slack.com/custom-integrations. They give an intro to the 4 main types of custom integrations you can create.
You’ll want to click on “Create New Bot User”.

This will take you to the team slack app page.
To see all custom integrations your team has, check out https://YOURTEAM.slack.com/apps/manage/custom-integrations. Click “Add Configuration” to start making a new bot.
Choose your bot’s name- I’ll call mine scotttest.
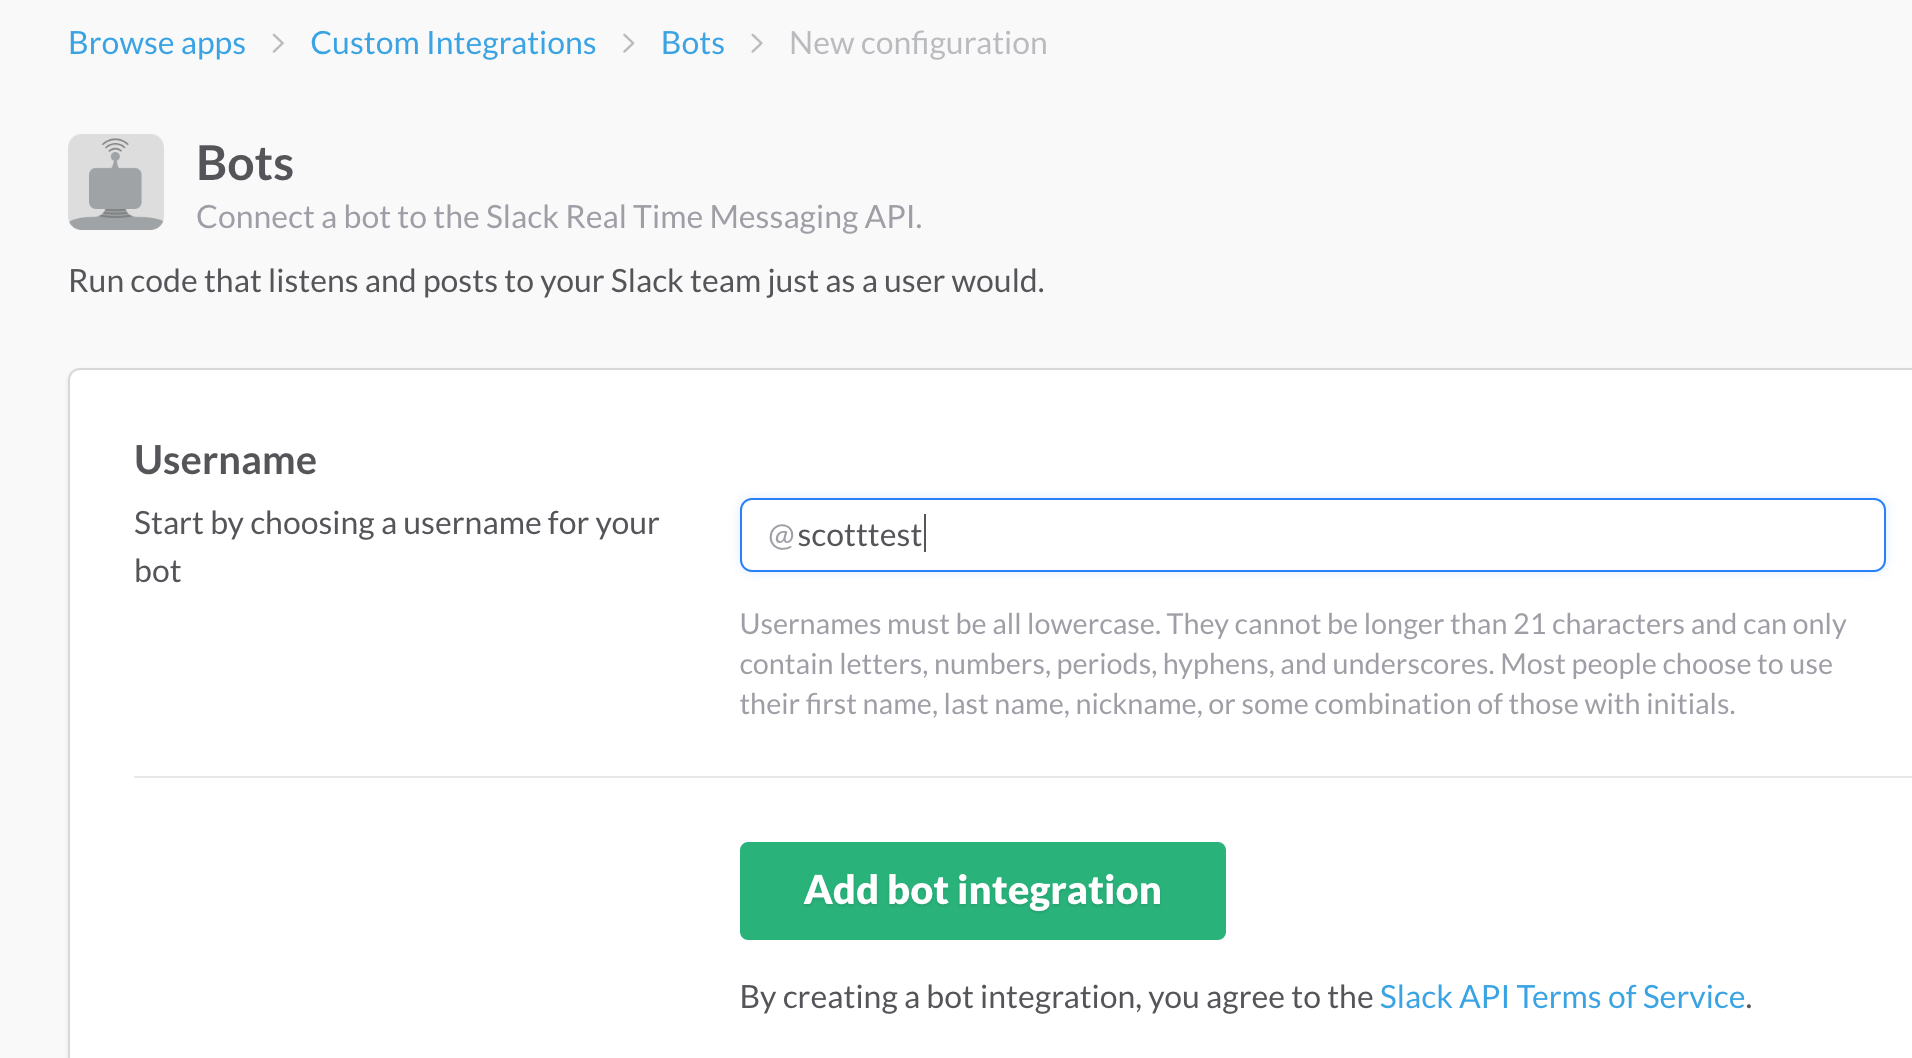
After clicking create, it takes you to the full setup page where there are a number of fields to customize your bot.
Many of these are not essential right now (Icon, preview message, description,…), but the most important is your API Token, a long string beginning in xoxb.
It comes with a warning about publishing this in public repositories- anyone with this key can act as your bot, so be careful.
To test it out however, you can start by setting up a session with the Python slack client.
Sending your first message
Assuming that you have virtualenv and virtualenvwrapper installed for Python, let’s install the necessary package:
pip install slackclientNow copy that token to your clipboard (ctrl-C), and open up a new python shell:
(slackstarter) scott$ python

>>> from slackclient import SlackClient

>>> sc = SlackClient('xoxb-78682634660-vgGe1YErjY9sdu')

>>> sc.api_call('chat.postMessage', channel='@scott', text='sup!')
{u'channel': u'D1288R0NM',
 u'message': {u'bot_id': u'B2AL5JKK2',
  u'subtype': u'bot_message',
  u'text': u'sup!',
  u'ts': u'1473689283.000002',
  u'type': u'message',
  u'username': u'bot'},
 u'ok': True,
 u'ts': u'1473689283.000002'}
And voila, I get a sup! message from bot user:
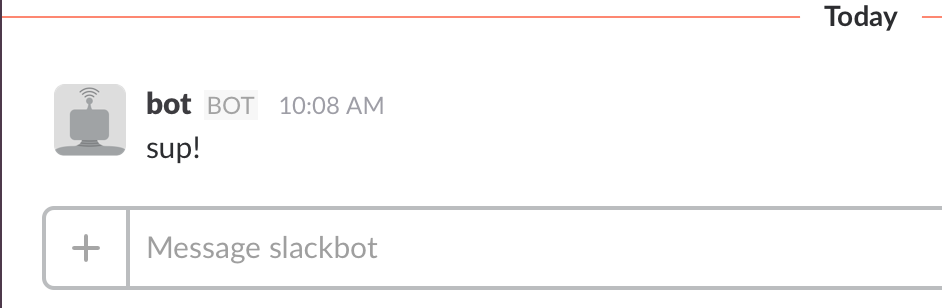
If I want to not have this appear in the ‘slackbot’ channel, but come directly from my bot user, I need to add the as_user argument:
>>> sc.api_call('chat.postMessage', channel='@scott', text='sup!', as_user=True)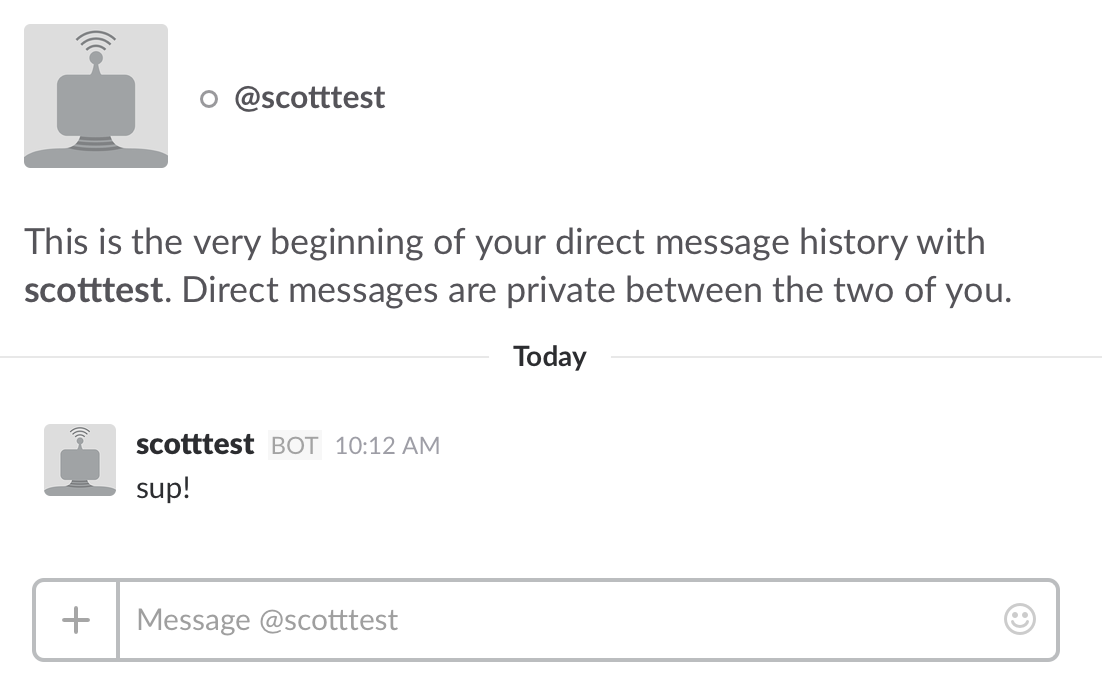
The full list of Web API calls you can make is here.
Chatting in real time
The single messages are great to include in other existing applications if you just want to have an extra form of notification. But most people picture some type of real time conversation happening with a slackbot. How do we make this happen?
This will involve connecting with the Real Time Messaging API.
Here the code is in the slackstart repo if you’d like to jump to the end and fill in your own bot’s token and name.
This code is heavily based on the tutorial here.
After setting up the code, the main things you will need to do for your personal bot are:
- Export your bot token to a bash environment variable
- Change the bot name from
starterbotto your bot’s name - Change the command in
EXAMPLE_COMMANDto whatever you want yours to be.
(slackstarter) scott$ export SLACK_BOT_TOKEN='xoxb-78626360-v1YErjY9sdu0k7hxxyXTb'
(slackstarter) scott$ python print_bot_id.py
Bot ID for 'scotttest' is U2AL2JKE
(slackstarter) scott$ export BOT_ID='U2AL2JKE'
(slackstarter) scott$ python run_bot.py
Once all that is set up, you can have your slack bot running from your local computer- no deployment involved.
Setting up your first slash command
For an example of the simplest slash command, I’ll be making the command /scotttest, which, when invoked, returns a lovely quote of the day on design from this API.
To set this up, what we are doing to respond is setting up a webhook for Slack.
Aside 1: What’s a webhook?
For this custom integration (and obviously the “incoming webhooks” and “outgoing webhook”), most of the custom Slack functionality happens though webhooks.
The example that was easiest for me to understand were Github webhooks. Here the idea of a “reverse API” made sense: Normally, when something happens on Github, if you want to find this out you would have to keep pinging their API and regular intervals waiting for a change. When that finally happens, you’d then be able to react in whatever way your code is set up to respond.
A webhook turns that around: You are able to give github a URL that it can reach out to when an event that you care about happens (“Don’t call us, we’ll call you”). This is why it’s also called a “push event”.
Slash commands in slack use the same concept- You give them a URL of an application you’ve set up, and when something of interest happens (meaning some user has typed /yourcommand), they will POST the data associated with that event to you.
It’s then up to you as the developer to handle that POST and respond appropriately with whatever you want your app to do.
Aside 2: ngrok
ngrok’s description is “I want to expose a local server behind a NAT or firewall to the internet.”
If you already know about setting up SSH tunnels to allow access to locally running applications, this might not offer much to you. But if you were like me and had never known this was possible, ngrok is magic.
Since setting up a slash command requires a publicly accessible URL for Slack to post data to, you either need to:
- Deploy your app using Heroku or something else to give you a URL:
- Note: this means for any small change you test, you must wait for a redeployment
- …?????
I didn’t know there was a 2.
But with ngrok running, you can be testing out your app locally, checking http://localhost:8000, and also see the same app running on https://b2098153.ngrok.io or whatever URL that ngrok gives you.
To set this up, follow the download instructions and unzip the program.
Once you unzip, you can either keep it in whichever folder you like to run it in and always specify ./ngrok if you are in that folder, OR make it a command accessible everywhere:
mv ./ngrok /Applications/
ln -s /Applications/ngrok /usr/local/bin/ngrok
This created an executable so you can run ngrok http 8000
Back to the slash command
Now that we know what this webhook is that we are setting up and how to quickly test it, let’s go through the Slack configuration.
git clone https://github.com/scottstanie/slackstarter.git && cd slackstarter
mkvirtualenv slackstarter
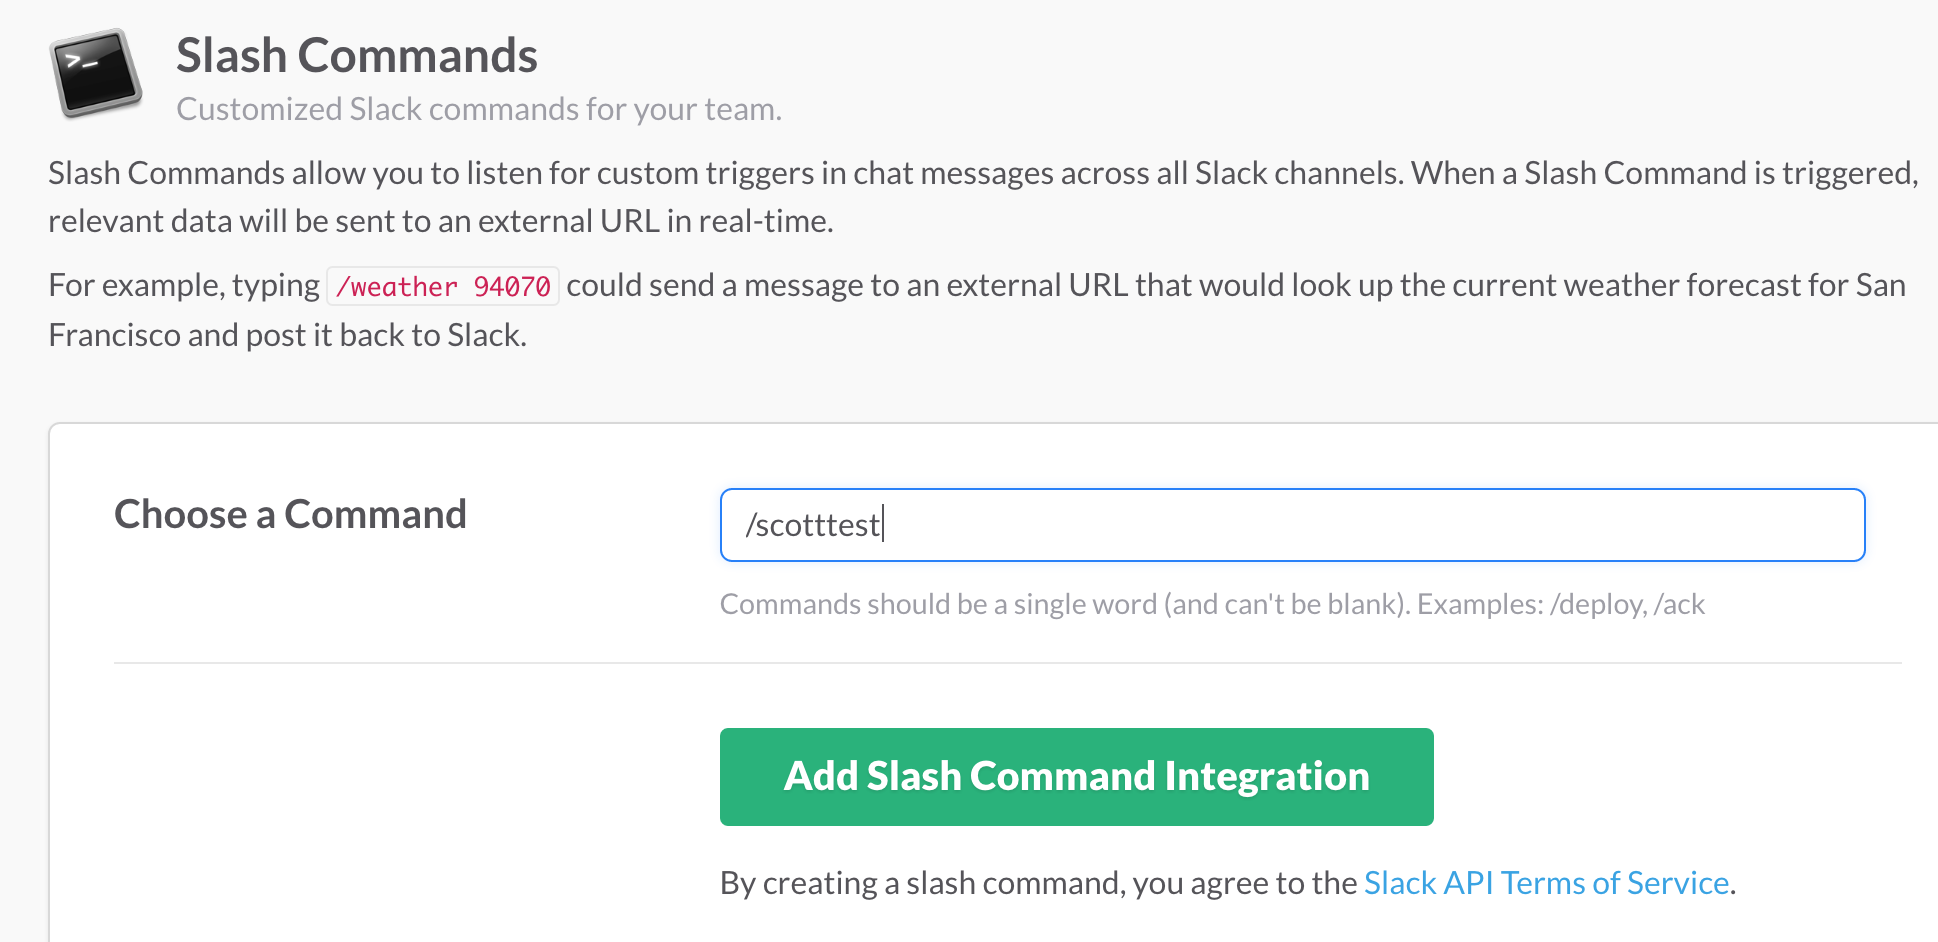
pip install -r requirements.txtNow similar to how we set up a bot user on the slack website, go back to https://api.slack.com/custom-integrations and click “New /command”. After clicking “Add Configuration”, you’ll name your new slash command:
This will bring you to another full setup page with lots of customizable info. For now, the most important field is the URL field.

This is your webhook url. It’s where slack will POST data when anyone invokes the command.
This needs to be publicly accessible, so here is when we will set up ngrok.
After running ngrok http 8000, the following screen should pop up and show your your new public URL:
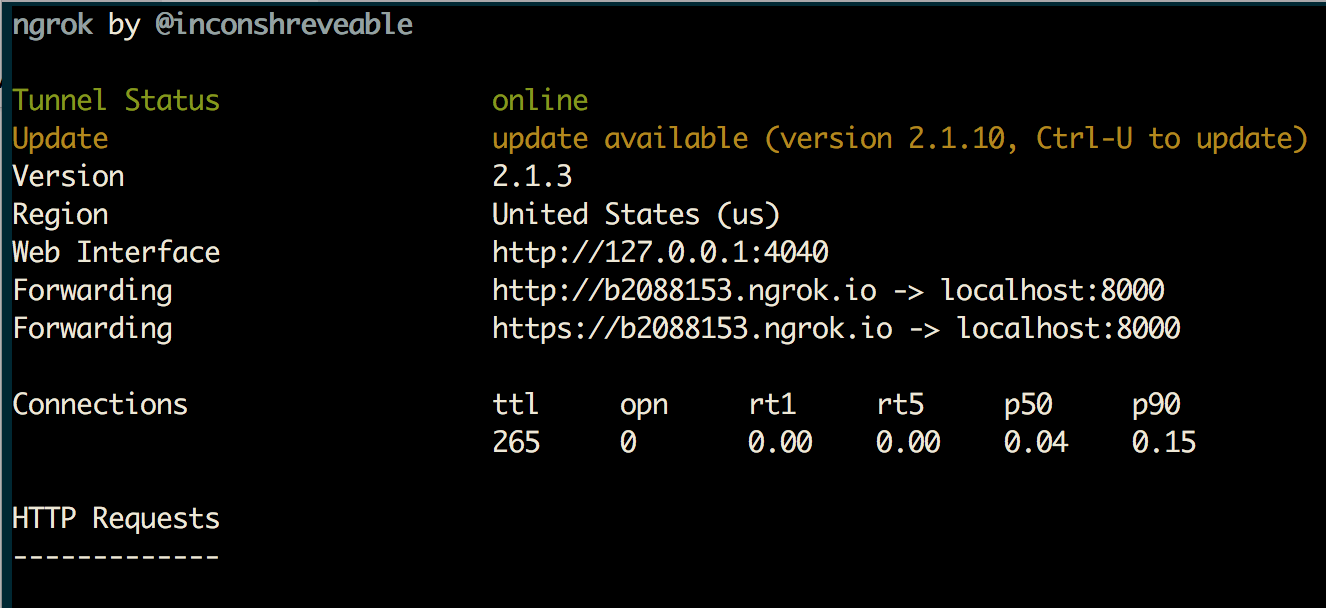
This will sit listening for anything running on your computer on Port 8000.
Take the https version of the URL that ends in ngrok.io and paste it into the URL field of the slack website, and add /slack to the end of it.

Now scroll to the bottom and click “Save”.
Our Flask app has a route set up to listen to /slack.
Now we can start up our Flask app from the slackstarter repo with python app.py.
Slack will respond to the slash command you have set up.
To make this a more permanent app, you’d need to deploy to heroku.